18.219.112.111 - United States, Columbus
laptop

How to setup L2TP VPN on Windows 7

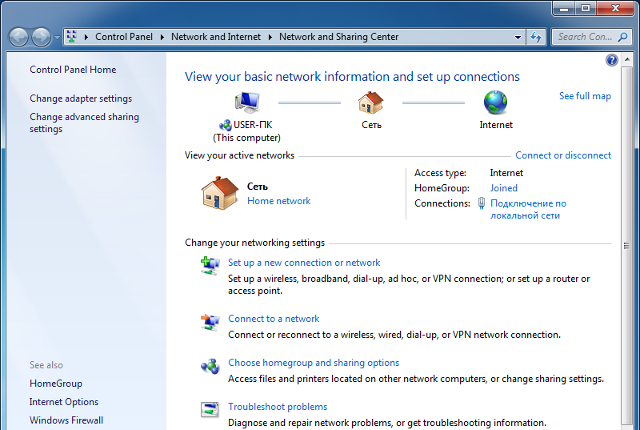
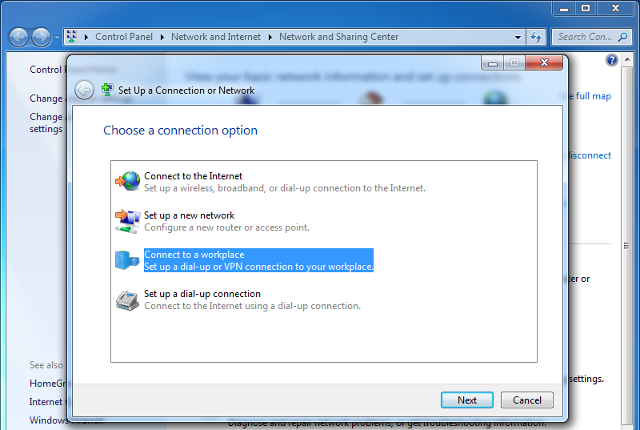
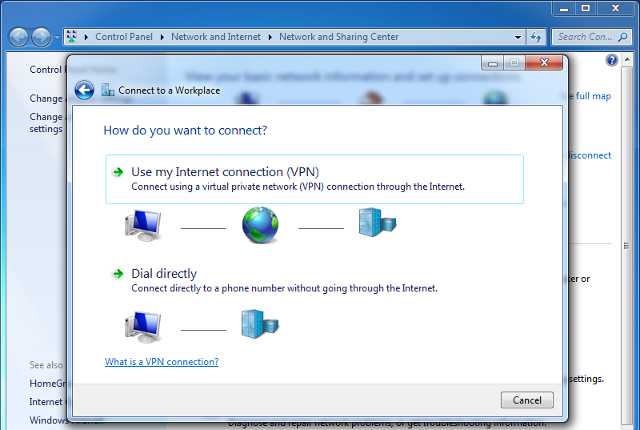
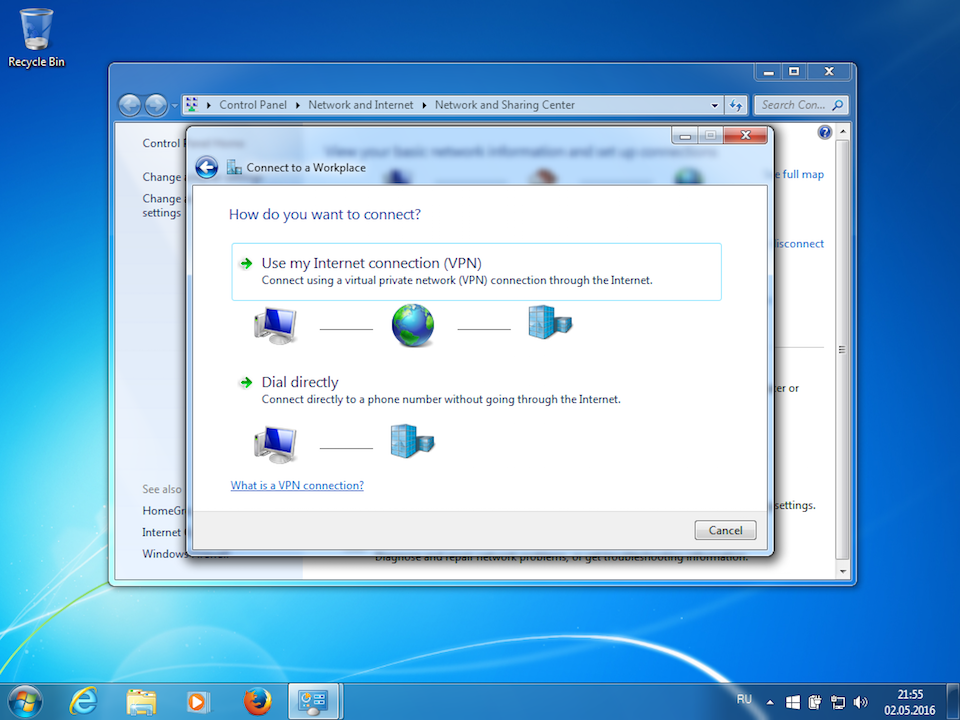
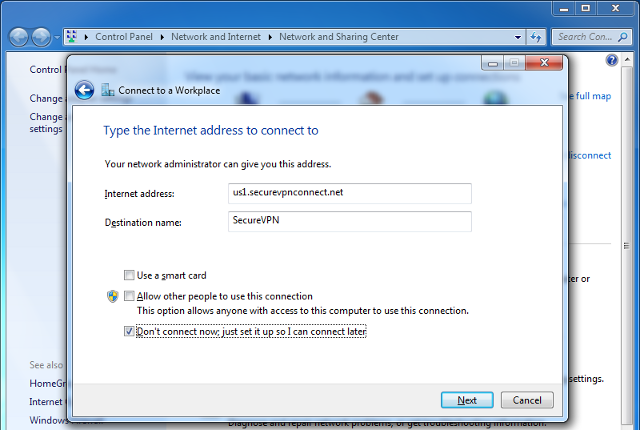
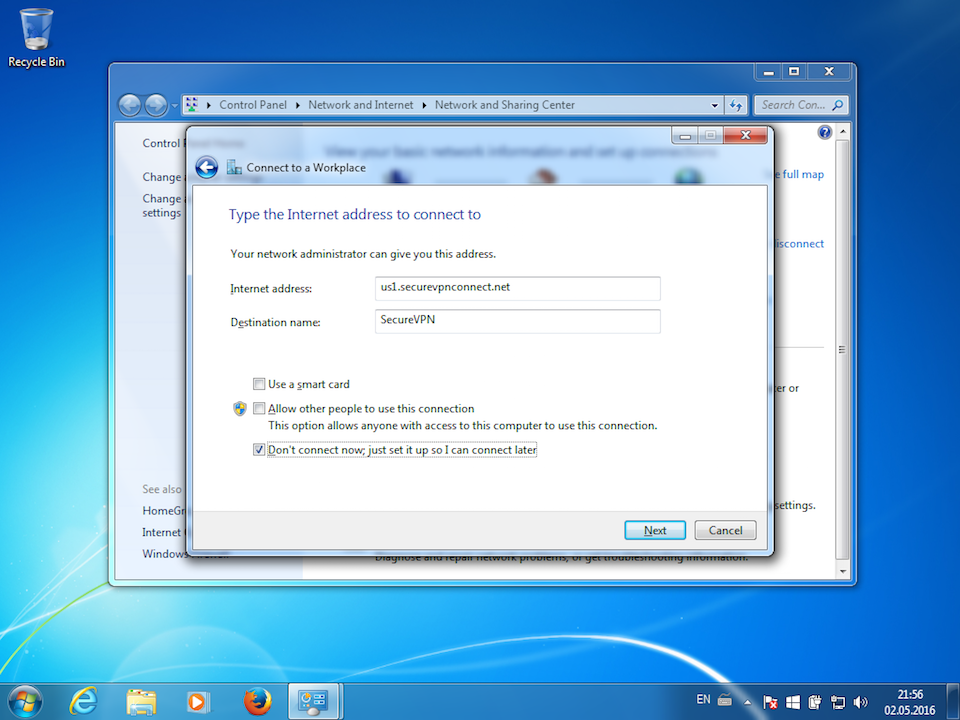
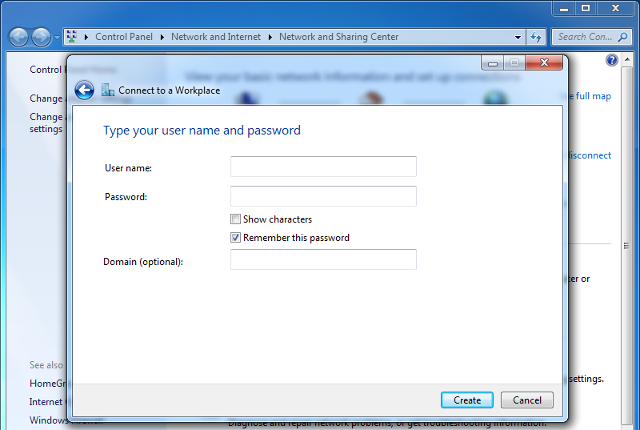
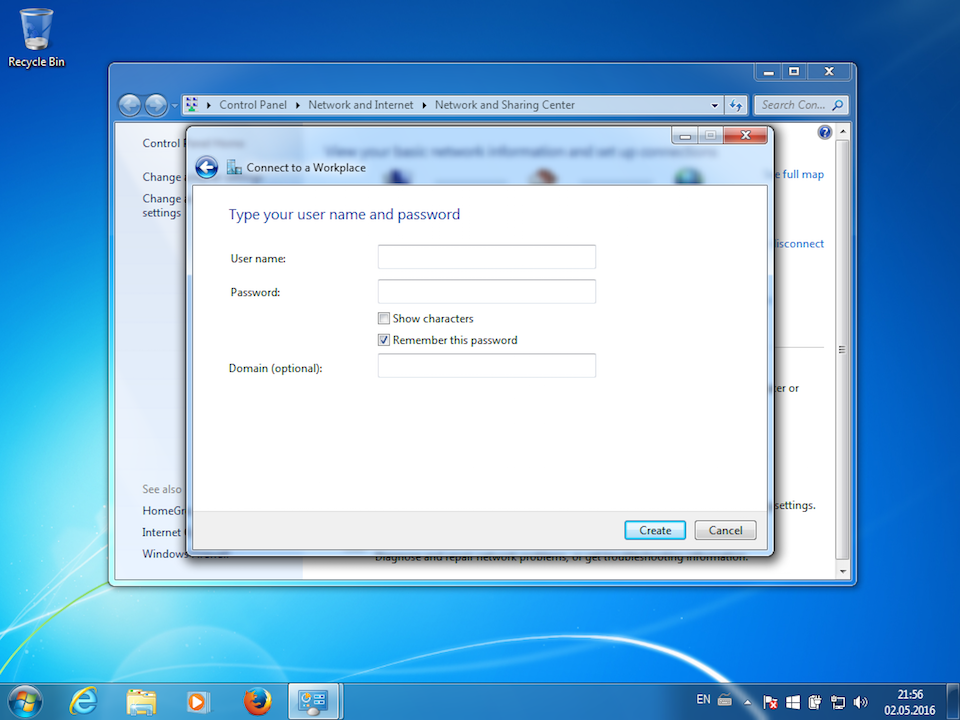
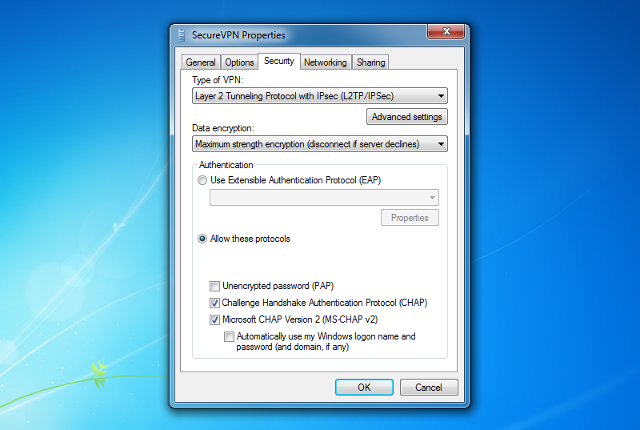
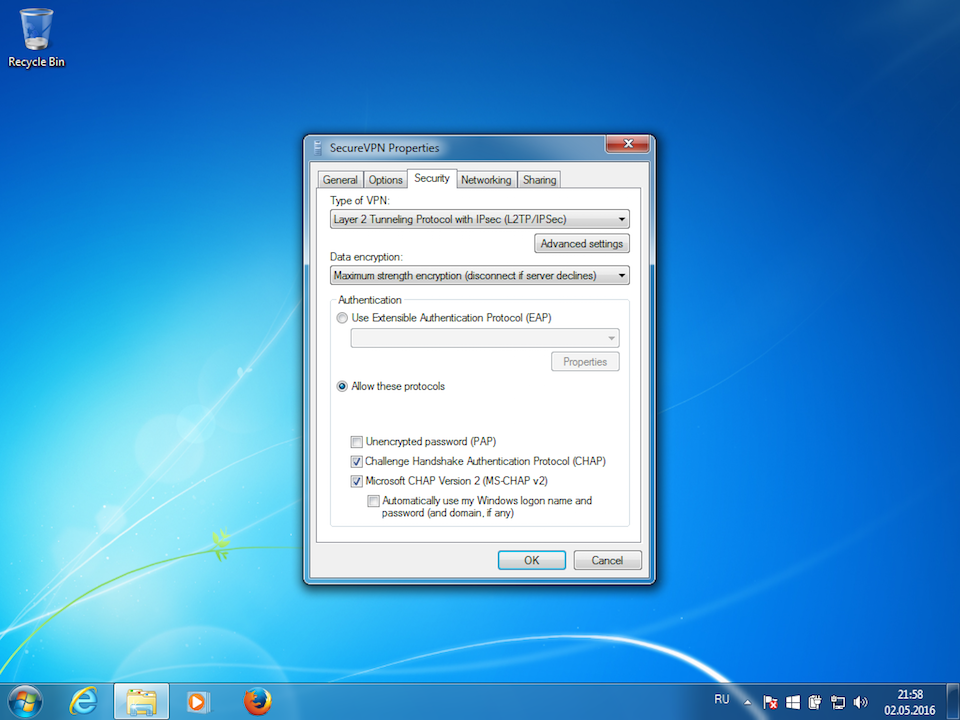
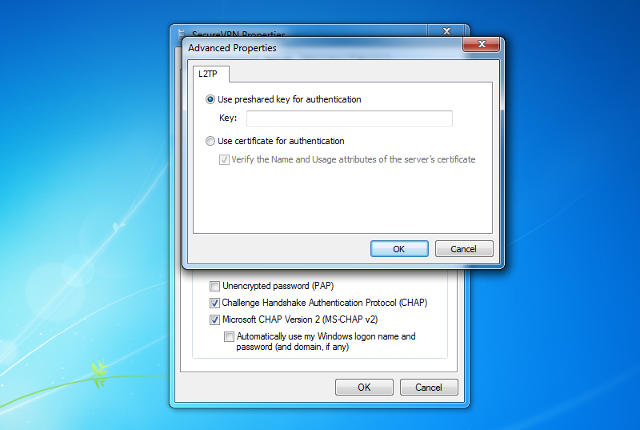
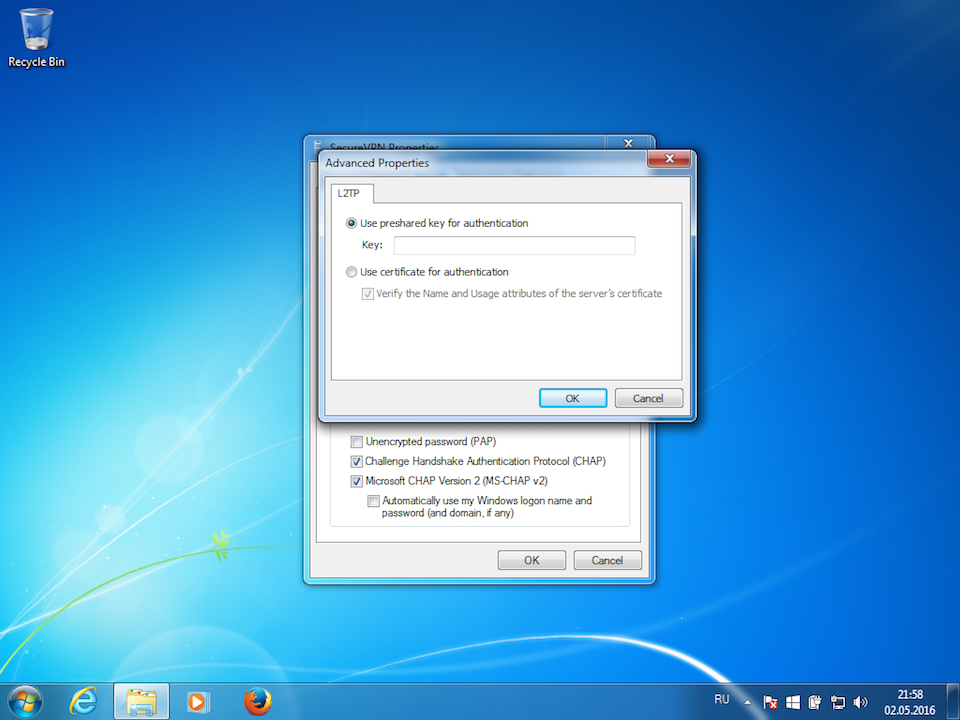
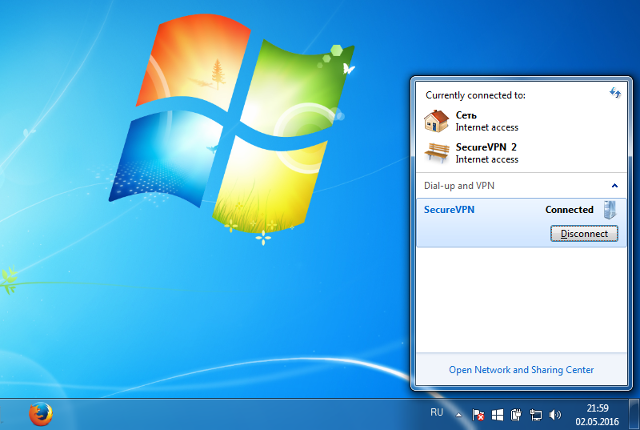
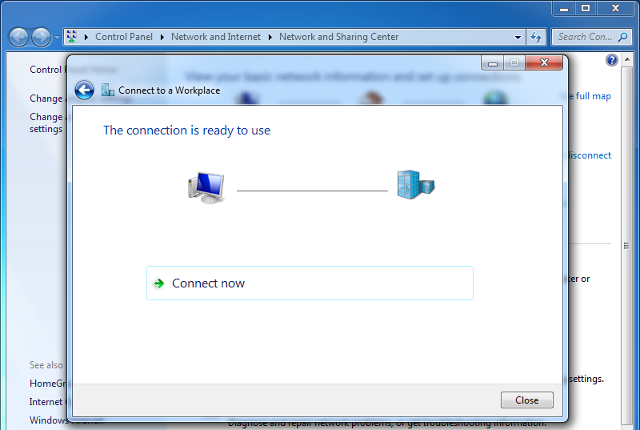
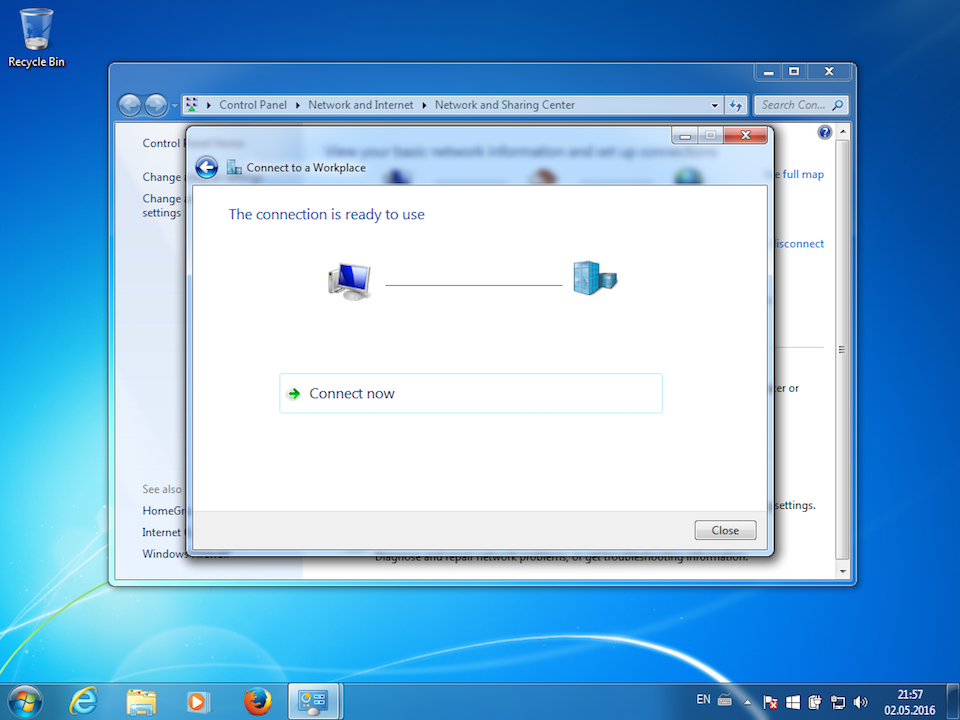
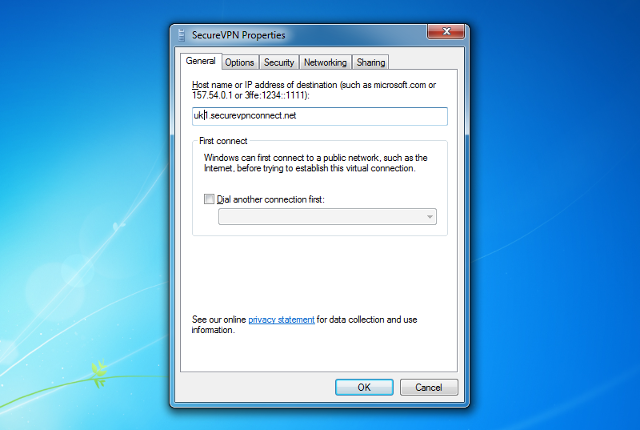
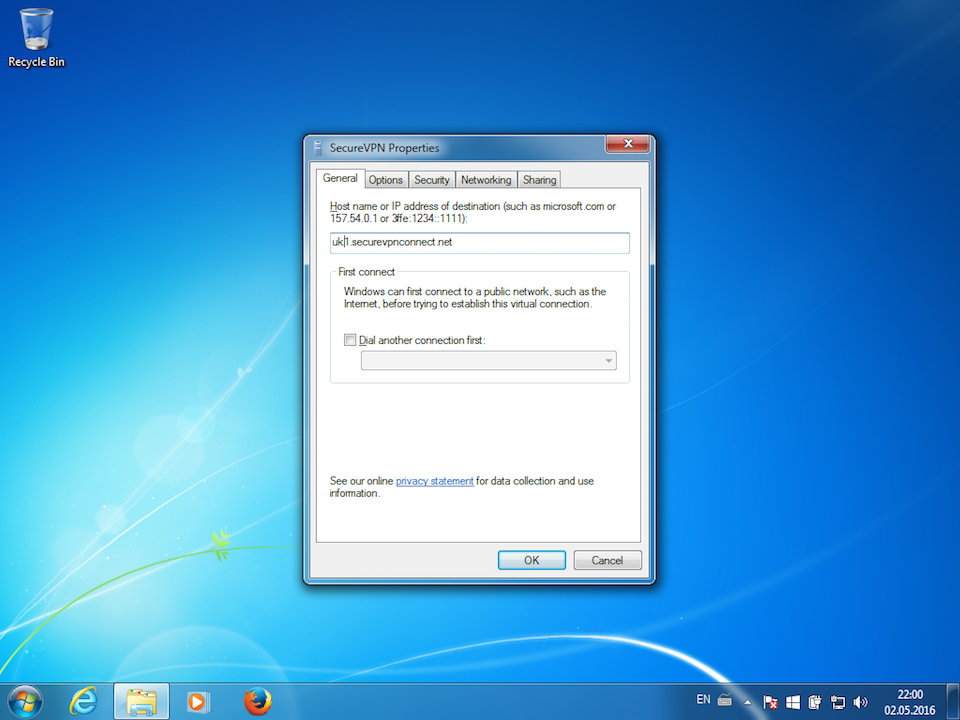
VPN setup for Windows 7 is very simple. L2TP protocol support is integrated in this operating system, and it doesn't require any software installation. Simply follow the steps shown on the images below. In a minute you will be able to use free Wi-Fi safely, not worrying that someone will steal your data, and visit websites completely anonymously.

1
Right click on Lan / Wi-Fi icon from System tray and click on Open Network and Sharing Center.
Next
Setting up L2TP VPN on Windows 7, step 1 Setting up L2TP VPN on Windows 7, step 1
Setting up L2TP VPN on Windows 7, step 2 Setting up L2TP VPN on Windows 7, step 2
3
In appeared window select Connect to a workplace and click Next.
Next
Setting up L2TP VPN on Windows 7, step 3 Setting up L2TP VPN on Windows 7, step 3
Setting up L2TP VPN on Windows 7, step 4 Setting up L2TP VPN on Windows 7, step 4
5
Insert the following settings: Check item Don't connect now and click Next.
Next
Setting up L2TP VPN on Windows 7, step 5 Setting up L2TP VPN on Windows 7, step 5
6
Insert accounting data: Check item Remember this password and click Create.

Important Note: your VPN username & password is placed in file readme.txt (was sent to your email after ordering the subscription).
Next
username password Setting up L2TP VPN on Windows 7, step 6 Setting up L2TP VPN on Windows 7, step 6
7
Click Close.
Next
Setting up L2TP VPN on Windows 7, step 7 Setting up L2TP VPN on Windows 7, step 7
8
Click on Lan / Wi-Fi icon from System tray, right click on created VPN-connection and select Properties.
Next
Setting up L2TP VPN on Windows 7, step 8 Setting up L2TP VPN on Windows 7, step 8
9
Click on Security tab and set parameters:
  • Type of VPN - Layer 2 Tunneling Protocol with IPsec (L2TP/IPSec)
  • Data encryption - Maximum strength encryption (disconnect if server declines)
Then click Advanced settings.
Next
Setting up L2TP VPN on Windows 7, step 9 Setting up L2TP VPN on Windows 7, step 9
10
Set preshared key - a-secure-psk and click OK.
Next
a-secure-psk Setting up L2TP VPN on Windows 7, step 10 Setting up L2TP VPN on Windows 7, step 10
11
On Networking tab uncheck items Internet Protocol version 6 and File and Printer Sharing for Microsoft Networks, then click OK.
Next
Setting up L2TP VPN on Windows 7, step 11 Setting up L2TP VPN on Windows 7, step 11
12
To establish VPN connection click on Lan / Wi-Fi icon from System tray, select created connection and click Connect.
Next
Setting up L2TP VPN on Windows 7, step 12 Setting up L2TP VPN on Windows 7, step 12
13
Click Connect in appeared window.
Next
Setting up L2TP VPN on Windows 7, step 13 Setting up L2TP VPN on Windows 7, step 13
14
VPN connection will be established in few seconds.
Next
Setting up L2TP VPN on Windows 7, step 14 Setting up L2TP VPN on Windows 7, step 14
15
To disconnect click on Lan / Wi-Fi icon from System tray, select connection and click Disconnect.
Next
Setting up L2TP VPN on Windows 7, step 15 Setting up L2TP VPN on Windows 7, step 15
16
If you need change address of VPN server - open properties of VPN connection (repeat step 8), click on General tab and set new address of VPN server, then click OK.

Our fresh VPN server list is here.
To top
Setting up L2TP VPN on Windows 7, step 16 Setting up L2TP VPN on Windows 7, step 16

Registration


E-mail
Language
Password
Confirm Password

Support and Feedback